Gluten Free Cupcake Mix Review

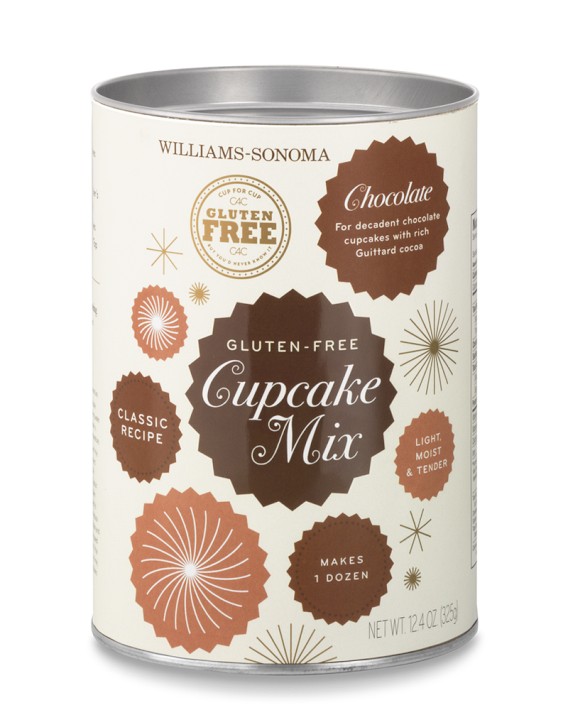
Recently we purchased several gluten free mixes online from Williams-Sonoma. We don’t eat a lot of cupcakes around here, so it is a treat when we have fresh GF baked goods!

gf cupcake mix

Cost
Let me start by saying that these mixes are pricey – $12 for a mix that makes 12 cupcakes. Even the mixes that are not gluten-free at Williams-Sonoma are pricey – but they are still more reasonable than buying them from the bakery!

Taste
I was expecting a very chocolatey cupcake! The flavor reminded me of a red velvet cake with a hint of chocolate and in my opinion, did not have a deep chocolate punch.

Texture
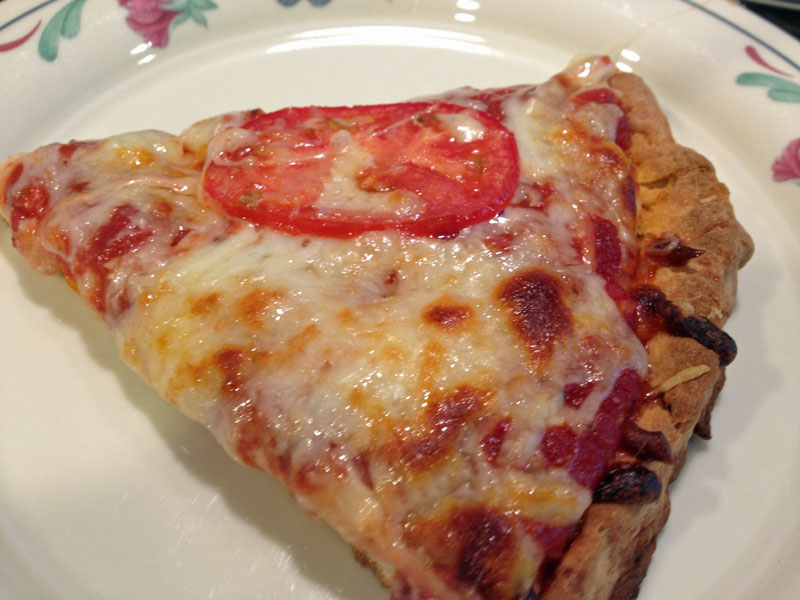
Wow! The texture was absolutely perfect! You would not be able to distinguish it from its ‘non’ gluten-free counterpart if you didn’t know any better. Texture is where the mix shined! Texture is so important in a cake. If it’s too heavy or mealy or dense it just is not worth eating. The cupcake held together nicely and was not too crumbly or tough.

gf cupcake

Our Frosting
We already had some cream cheese frosting in the refrigerator, so we paired the cupcake with it. Maybe that’s what contributed to it tasting like a red velvet cake. I suspect that the butter-cream frosting suggested on the package would be a better choice to pair with this chocolate cupcake.

Note – we did not frost the cupcakes until we were ready to eat them. Also, we only made half of the mix by splitting the ingredients. I often split a mix to accommodate our small family with a fresh treat so not to be tempted to eat four cupcakes in a day or two. We could freeze them, but I prefer freshly baked.

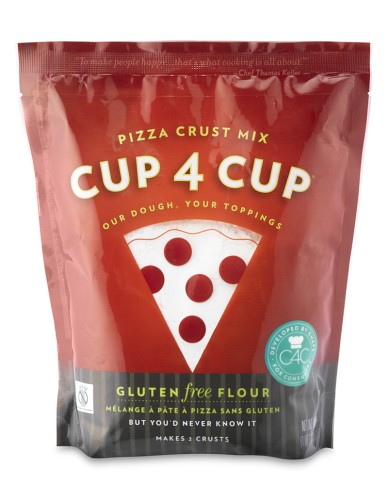
Wrap up – if we make the cupcakes with Cup4Cup flour from scratch, the process would be only slightly more difficult and would likely yield a similar, and potentially more flavorful cupcake.

These cupcakes are a special treat and probably not your every day choice because of their price…but let a little sweetness for the taste buds remind us to use healthy, sweet words…

Pleasant words are a honeycomb:
sweet to the taste and health to the body. Proverbs 16:24 (HCSB)


Cup4Cup Gluten Free Pizza Crust Mix Review

Are you looking for scrumptious gluten free pizza crust?

Yes, we know. It is nearly impossible to find.

Occasionally we venture to local pizzerias for a GF pizza, but most GF crusts are nothing more than cracker-like ‘topping transporters’. When desperate, a ‘topping transporter’ can do the trick to satisfy one’s taste for a pizza pie…but don’t you want more?

Recently, I bit the bullet and ordered pricey Cup4cup gluten free pizza mix from Williams Sonoma…and low and behold…it makes a pretty darn good thin crust pizza

The mix makes two 12 in crusts and contains dry ingredients with a yeast packet. We only wanted to use half the mix since we don’t eat pizza often. What would we do with a single mix?
1 – Use the whole mix and refrigerate one half the dough or
2 – Measure the ingredients and use only half or
3 – Bake both crusts and freeze one.

We didn’t want to eat pizza again within 3-4 days and freezing seemed risky. It was easy to measure the dry ingredients and a bit tricky halving the yeast…but definitely do–able. We used half the warm water then mixed up one egg. I confess, we didn’t use half an egg!

If you have more than two people this halving ritual shouldn’t be an issue. You will need two pizzas!

The dough was simple. Just add warm water and egg to the dry ingredients and knead. The instructions specifically say not to add additional flour when forming the crust. When our dough got sticky, a tiny bit of olive oil on the fingers did the trick. Once the dough is together, simply pat it into a 12 inch round and put it on an olive oiled pan. Add olive on top of the crust and par-bake it in a 500 degree oven for 8-10 minutes.

Once your crust is par-baked, add your favorite toppings. We used Muir Glen organic pizza sauce, mozarella and parmesan cheese, roma tomatoes and crumbled Aidell’s GF organic meatballs.

cup4cup gluten free pizza mix

For visual instructions and videos see Williams Sonoma’s website.

gluten-free-pizza.

Here are some quick highlights:

Pros:

– High quality
– Easy to make
– Great flavor and taste
– Great texture as a thin crust. Nice and crunchy, stays together well.
– Helpful Instructions and videos
– Makes better leftovers than any gluten filled crust I ever had.

Cons:

– Price 14.95 for two 12 inch pizzas
– Texture is not as chewy as gluten crust
– Can’t easily halve the mix to make one crust

Tips:

– Let the egg come to room temperature before adding to mix if possible.
– Rub a little oil on your fingers if the dough gets too sticky to handle.
– Make the crust thin. Don’t try to make a thick crust – you’ll notice the lack of gluten’s chewiness more as the crust gets thicker.
– Use toppings at room temperature or warm them before you top the pizza. This will make the pizza cook more quickly and keep the crust from over baking or burning.

Be prepared for your next pizza craving and keep Cup4cup GF Pizza Crust mix on hand!

Scripture Memory #8 – A Sweet Relief!

I’ve been planning to get this post done all day, and now that I’ve filled up on strawberries with cream cheese frosting** for dessert – I am really ready!  I have had my fill of sweet strawberries and that decadent dip of creaminess on the bottom.  We made the frosting fresh this morning!  Come on my sweet friends, I know you want to join us on this amazing journey.

Below are a few handy sweet scriptures I like for the end of April.

How sweet are your words to my taste,  sweeter than honey to my mouth!  Ps. 119:103

When you lie down, you will not be afraid; when you lie down, your sleep will be sweet. Prov. 3:24

Gracious words are a honeycomb, sweet to the soul and healing to the bones.  Prov. 16:24

I’ve been laboring a bit with verses in the second chapter of Colossians for the past week or two and I’m happy to share these two verses because I love thankfulness:

So then, just as you received Christ Jesus as Lord, continue to live your lives in him,  rooted and built up in him, strengthened in the faith as you were taught, and overflowing with thankfulness. Col. 2:6-7

In the book One Thousand Gifts, Ann Voskamp says, “Thanksgiving creates abundance; and the miracle of multiplying happens when I give thanks – take the just one loaf, say it is enough, and give thanks – and He miraculously makes it more than enough.”


My prayer is that we overflow with thankfulness through the circumstances…today and every day, and He will make it more than enough. —-Madge

**Cream Cheese Frosting Recipe
-8 ounces cream cheese, room temperature
-8 tablespoons (1 stick) butter, cut into pieces, room temperature
-3 cups confectioners’ sugar
-1 teaspoon pure vanilla extract
Place cream cheese and butter in a mixing bowl to soften. Beat until smooth and well blended. Add confectioners’ sugar and vanilla, and continue beating until smooth. Store in container in refrigerator.  Yummy and gluten-free.

Choosing Chex

Last week when I was in Target, I picked up every kind of gluten-free Chex cereal they carried. Amazingly, the multi-grain and wheat flavors were the only ones that failed the gluten test.  Thank you General Mills!

I had never noticed the wide array of Chex® flavors that were available. This morning – Saturday morning – when Brent could make oatmeal, or buckwheat pancakes, or eggs and bacon, he chose a bowl of Chex® ! And instead of venturing out and trying the honey nut or cinnamon flavors that he had not tried yet, he stuck with the basic Rice Chex®!

No doubt, the cinnamon, chocolate or honey nut are destined for a late night snacking sensation or maybe we’ll make one of these tasty recipes we found on the Chex® website.

 Chili and Garlic Chex® Mix

4 cups Corn Chex® or Rice Chex® cereal
5 cups popped fat-free microwave popcorn
1/4 cup dry-roasted peanuts
2 tablespoons canola or vegetable oil
3 tablespoons grated Parmesan cheese
1 teaspoon chili powder
1 teaspoon garlic powder

1. In large microwavable bowl, mix cereal, popcorn and peanuts. Drizzle with oil; toss until evenly coated.
2. In small bowl, mix remaining ingredients. Sprinkle over cereal mixture; toss until evenly coated.
3. Microwave uncovered on High 3 to 4 minutes, stirring after each minute, until crisp. Spread on waxed paper to cool. Store in airtight container.

Chex® Honey Nut Cherry Crunch

4 1/2 cups Honey Nut Chex® cereal
4 1/2 cups Rice Chex® cereal
2 cups whole cashews
1/4 cup packed brown sugar
1/4 cup butter or margarine
1/4 cup honey
1 teaspoon salt
1 cup dried cherries
1/4 cup toasted sesame seeds

1. In large microwavable bowl, mix cereal and cashews.
2. In 2-cup microwavable measuring cup, microwave brown sugar, butter and honey and salt uncovered on High about 1 1/2 minutes, stirring after 1 minute, until mixture comes to a boil. Stir butter mixture. Pour over cereal mixture; stir until evenly coated.
3. Microwave uncovered on High 4 minutes, stirring every minute. Stir in cherries and sesame seeds. Microwave an additional 3 minutes, stirring every minute. Spread on waxed paper or foil to cool. Store in airtight container.